A Guide to Uploading Videos on YouTube
 The first blank box is where the title goes. Make sure the title is correct, the description has no errors, and the tags are appropriate. However, there are a myriad of other compressing options. A truly versatile program capable of compressing and changing codecs is Handbrake. Lossy codecs will degrade the image for a smaller file size, and the effects of this can make your video look awful. Codecs can be either lossless or lossy. Beneath this bar is the Basic Info tab, where we can give our video a title, description, and tags. Here you should give a brief rundown of the contents and background of the video. This will take you to the page to give a title, describe, and tag your video. This will take you to a setup page to increase your upload limit. This next page is our upload progress page. Once the progress bar is complete, voila! Artic le w as gen erated with the help of G SA Content Gen er ator Demoversion!
The light blue bar running across the top shows us the progress of the video as it uploads. After doing this, it's time to hit the Publish button next to the progress bar! Once all of these steps are complete and the progress bar has completed, it's time to double check everything. MPEG-1 and MPEG-2 are lossy codecs, so when uploading to YouTube, make sure that your codec is preferably H.264 or another lossless codec. So now that we have the basics covered, let's get into uploading! Programs such as Handbrake allow users to seamlessly transition one codec file to another, so if you have a camera or editing software that doesn't produce the desired codecs, you can use Handbrake to switch it to the one you need. When a codec is lossless, this means that it will not degrade or take away from the image quality of the video file. Longer videos, of course, will take longer to complete. This will help its search results.
For optimal search results, use as many tags that apply! The last blank box is for tags. From here select the file to upload by dragging the mouse cursor over the giant arrow in the gray box. Before uploading, you should know the length, file size, and codec of the video. A codec refers to the digital wrapper a video file is encompassed within. A common lossless codec is H.264, and this is also the preferred codec for YouTube. With regards to length, the general cap for YouTube is 15 minutes. A well compressed video that's five minutes or so long shouldn't take more than a few hundred megabytes. This will take you to the page where you can upload, title, describe, and tag your video. You will be taken to a brief editing page if you want to trim the video. You will now be able to upload videos that max at either 128GB or 12 hours, whichever comes first. After selecting Upload Video, you will be taken to a screen that displays all videos available on your device. It's short for coder-decoder and serves to compress the video, but increases the processing power needed to play it.
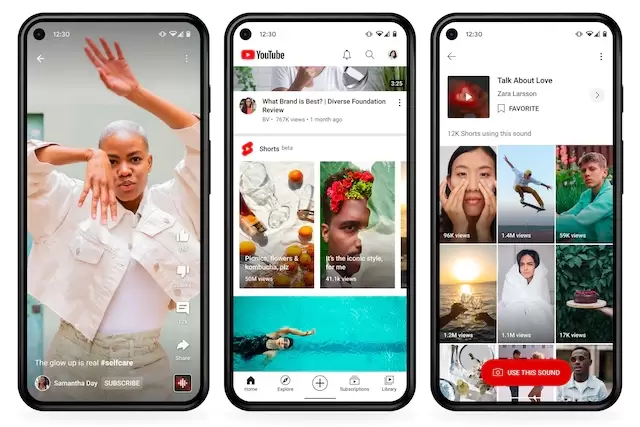
For example, if you had a guitar instructional video, some tags would be guitar, music, instruction, instruments, etc. However, youtube shorts please avoid tags that do not pertain to your video's subject. Tags are short phrases that associate our video with an appropriate topic or labeling. Video compressors are widely available in app stores. A submenu will then drop down asking if you want to either upload a video or stream live. There is also the option to record a video on the fly, and to stream live. Since Google owns Android and YouTube, there is an option to upload direct to YouTube from the Gallery app! For Android users, you're in luck. For iPhone users, there are a few extra steps, but it is still a fairly simple process. They are relatively simple to use. File size is the next thing to consider. This will bring us to the file upload screen, which looks like this.
Post a Comment for "A Guide to Uploading Videos on YouTube"